How to Transition from Straight to Curly Styles with the Same Heat Tools
By L'ANGE | Published: 2026-05-26
Category: How-to Guides
Learn how to switch between straight and curly looks using just your flat iron and curling wand. Master heat styling techniques, product layering, and tool settings for versatile, damage-free results.
Changing your hairstyle from sleek and straight to bouncy curls doesn't require a drawer full of different tools. With the right techniques and a few high-quality heat styling instruments, you can master both looks effortlessly. Whether you're heading from a boardroom meeting to a night out or simply want to refresh your everyday style, learning how to transition between straight and curly styles with the same tools saves time, money, and space in your bathroom.
In this guide, we'll explore how to use your existing curling wand and flat iron to create everything from polished straight strands to voluminous curls. We'll also share the best products to protect your hair and lock in your style, including key picks from L'ANGE HAIR that make the process easier and healthier for your hair.
Understanding Your Heat Tools: Flat Iron vs. Curling Wand
The two most versatile tools for creating both straight and curly styles are a flat iron and a curling wand. While each has a primary function, with a little creativity, they can do double duty.
Using a Flat Iron for Straight Styles
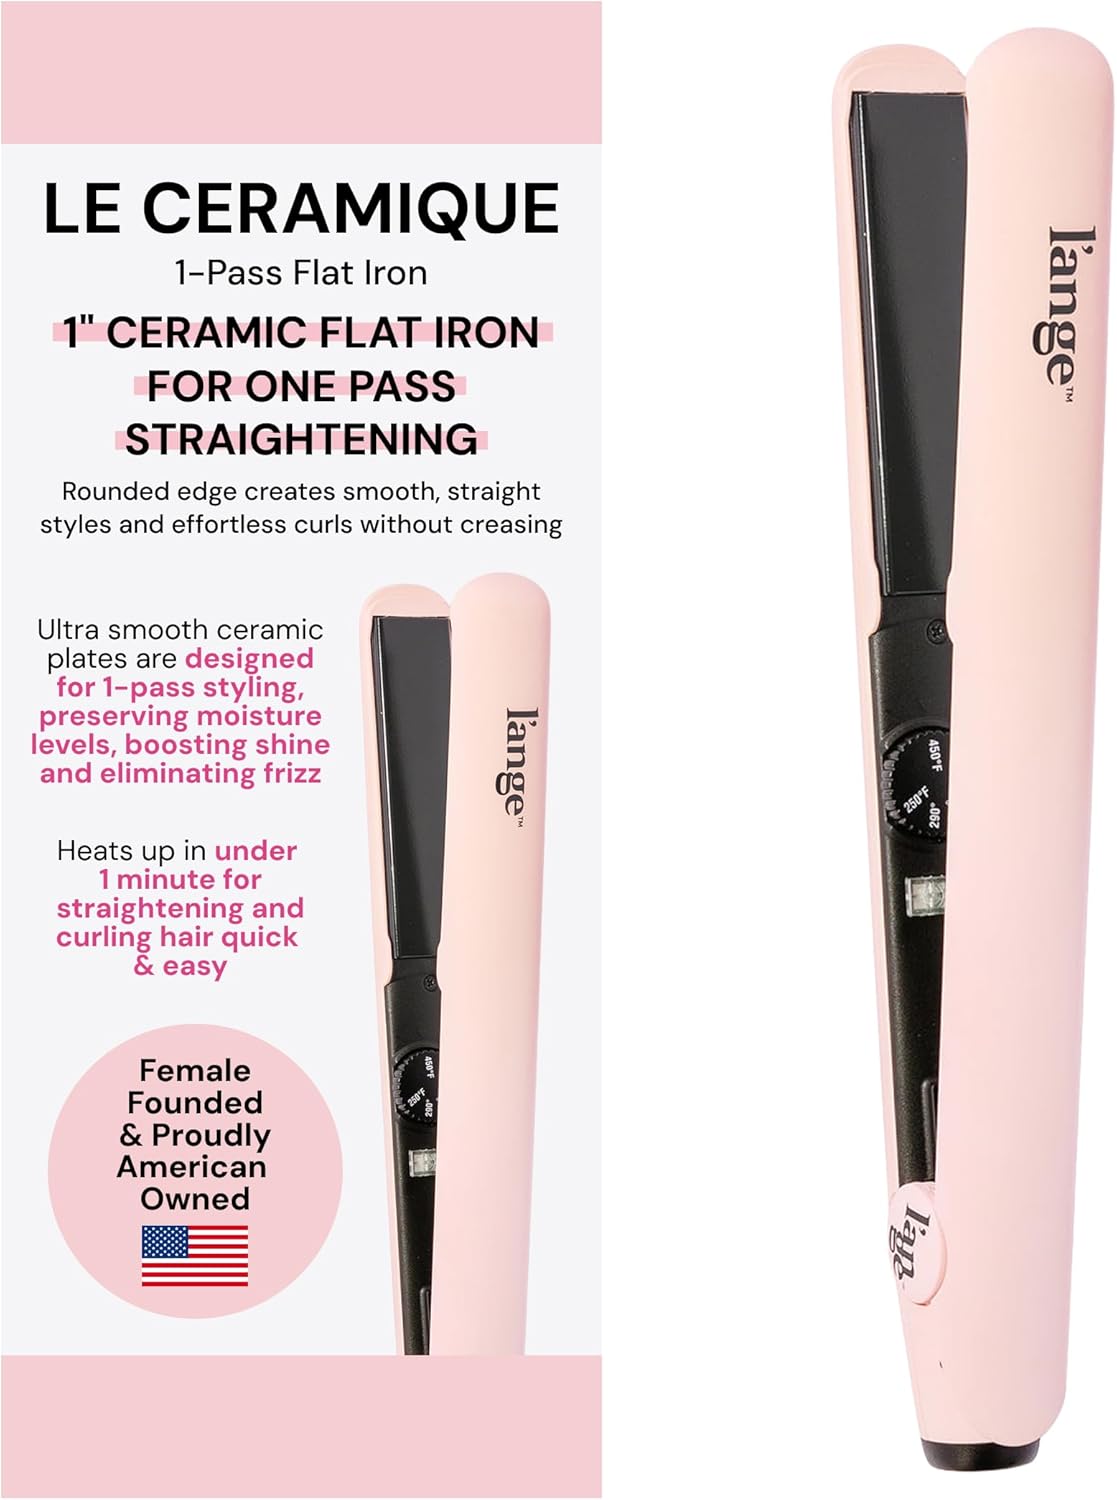
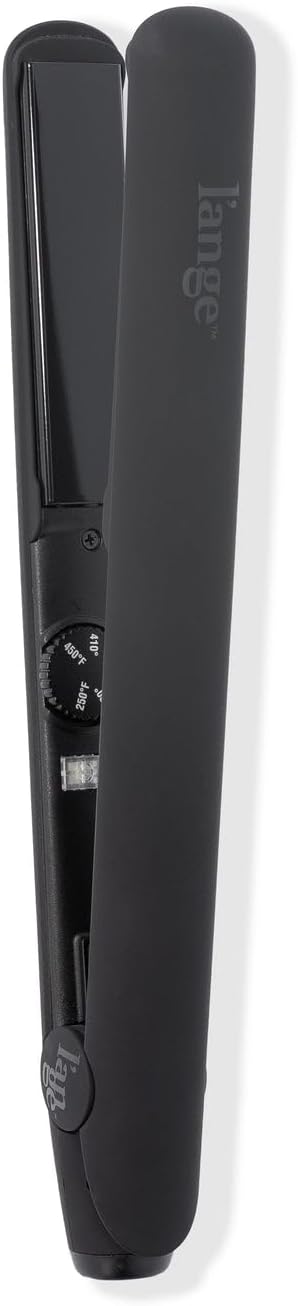
A flat iron is the go-to for sleek, straight hair. Its heated plates glide over each section, sealing the cuticle and removing frizz. For best results, use a flat iron with adjustable temperature settings and ceramic or titanium plates. The L'ANGE HAIR Le Duo Standard 360° Airflow 2 in 1 Straightener and Curler (Black) is an excellent choice because it also features 360° airflow technology, which helps cool the hair as you straighten, reducing heat damage and speeding up the process.
Using a Flat Iron for Curls
Yes, you can create curls with a flat iron! The technique involves clamping a section of hair, then rotating the iron 180 degrees while pulling downward. This creates a spiral effect. The key is to use a flat iron with rounded edges so the hair can wrap smoothly. The Le Duo Standard's rounded barrel design makes it ideal for this, giving you soft, beachy waves or tight curls depending on the angle and speed of your motion.
Using a Curling Wand for Curls
A curling wand is designed specifically for creating curls and waves. Unlike a traditional curling iron, a wand has no clamp, so you wrap the hair around the barrel. This produces more natural-looking, heat-formed curls. For volume and lift, start wrapping from the mid-shaft and work your way up, leaving the ends out for a more modern look.
Using a Curling Wand for Straight Styles
Surprisingly, you can also use a curling wand to straighten hair, especially if you have wavy or slightly curly hair. The trick is to use the wand as a straightening brush: grip a section of hair near the roots and gently pull the wand downward, keeping the hair taut against the barrel. The heat smooths the hair shaft, and because there's no clamp, you avoid creating dents. This technique works best on hair that's already 80% dry and can help stretch out natural waves without making hair poker-straight.
Step-by-Step: Transitioning from Straight to Curly
Let's walk through a complete routine that takes you from a straight look to a curly style using the same two tools.
Step 1: Prep Your Hair for Heat Styling
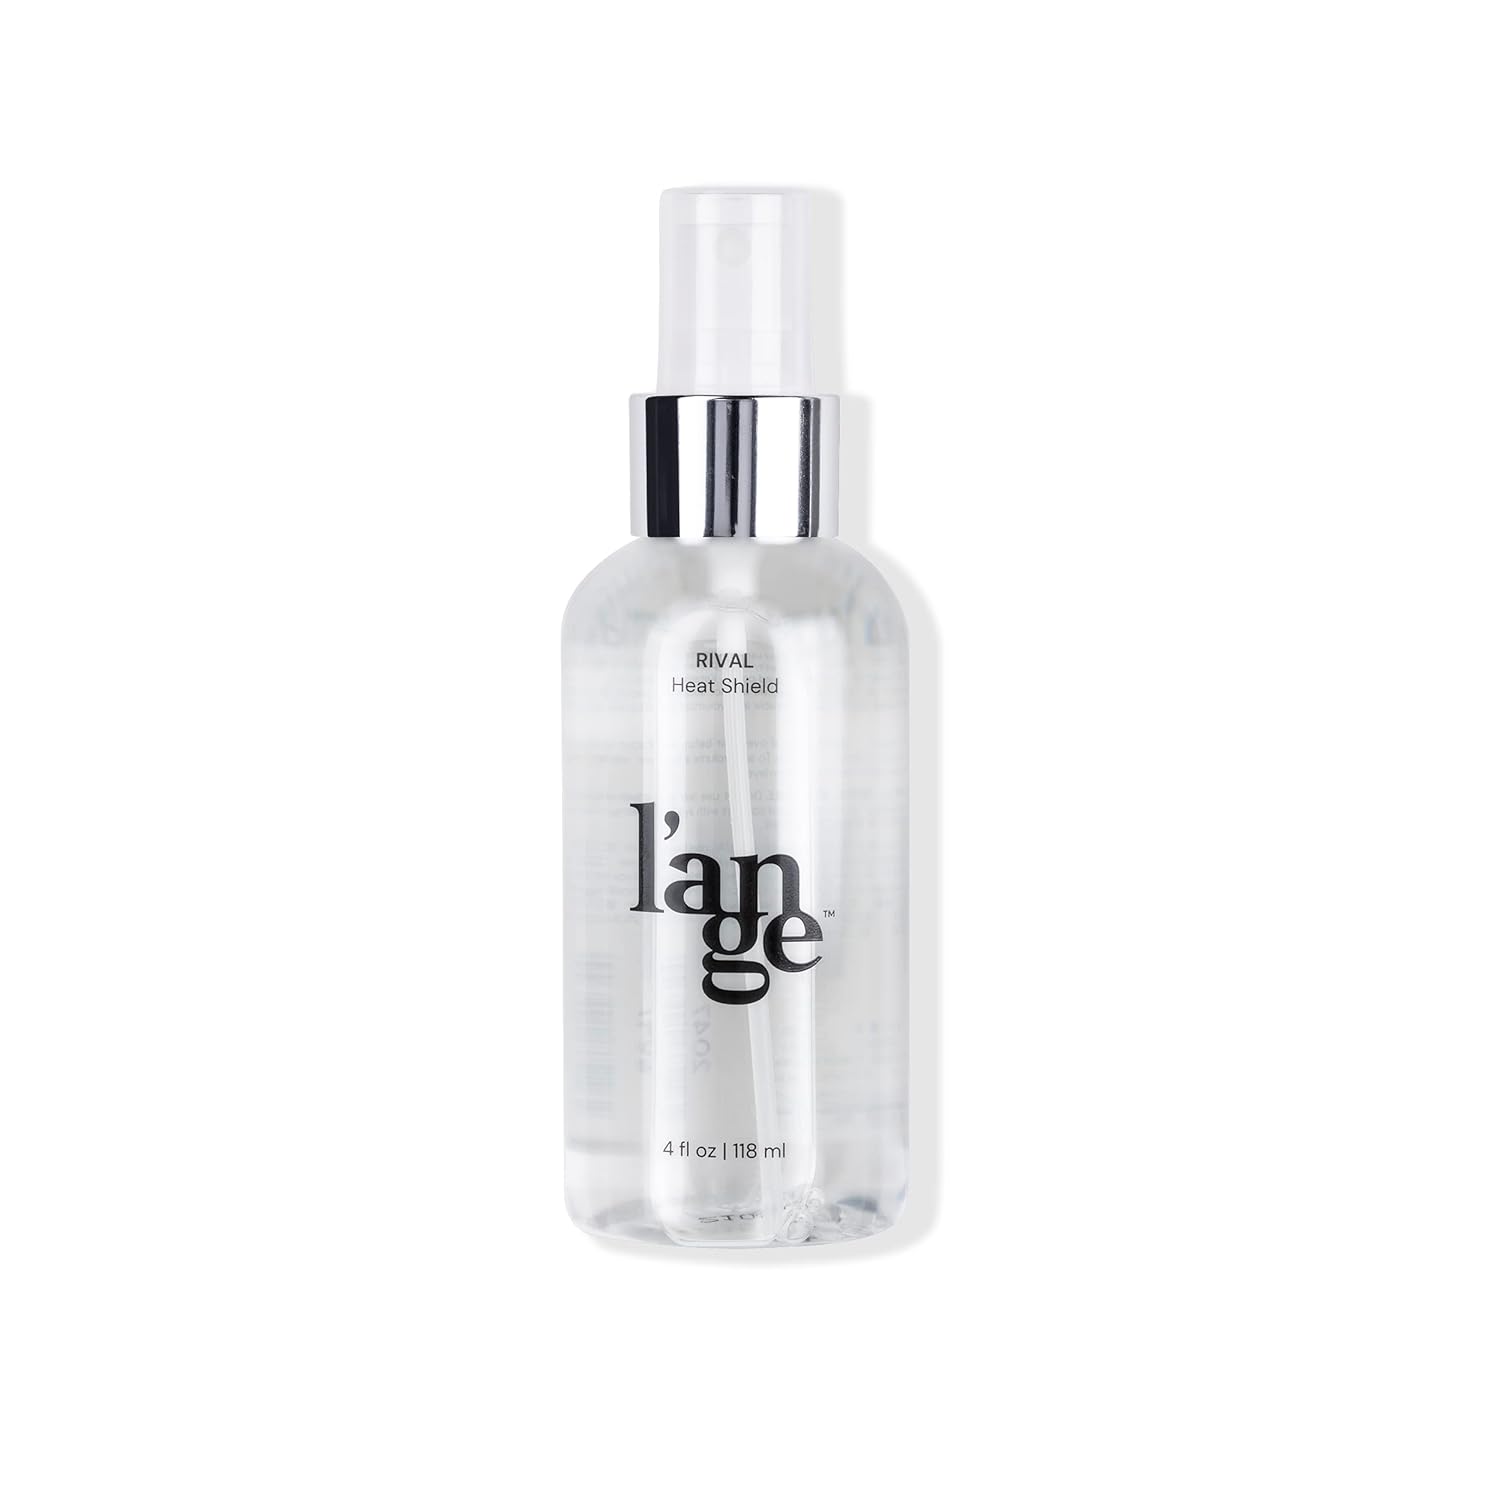
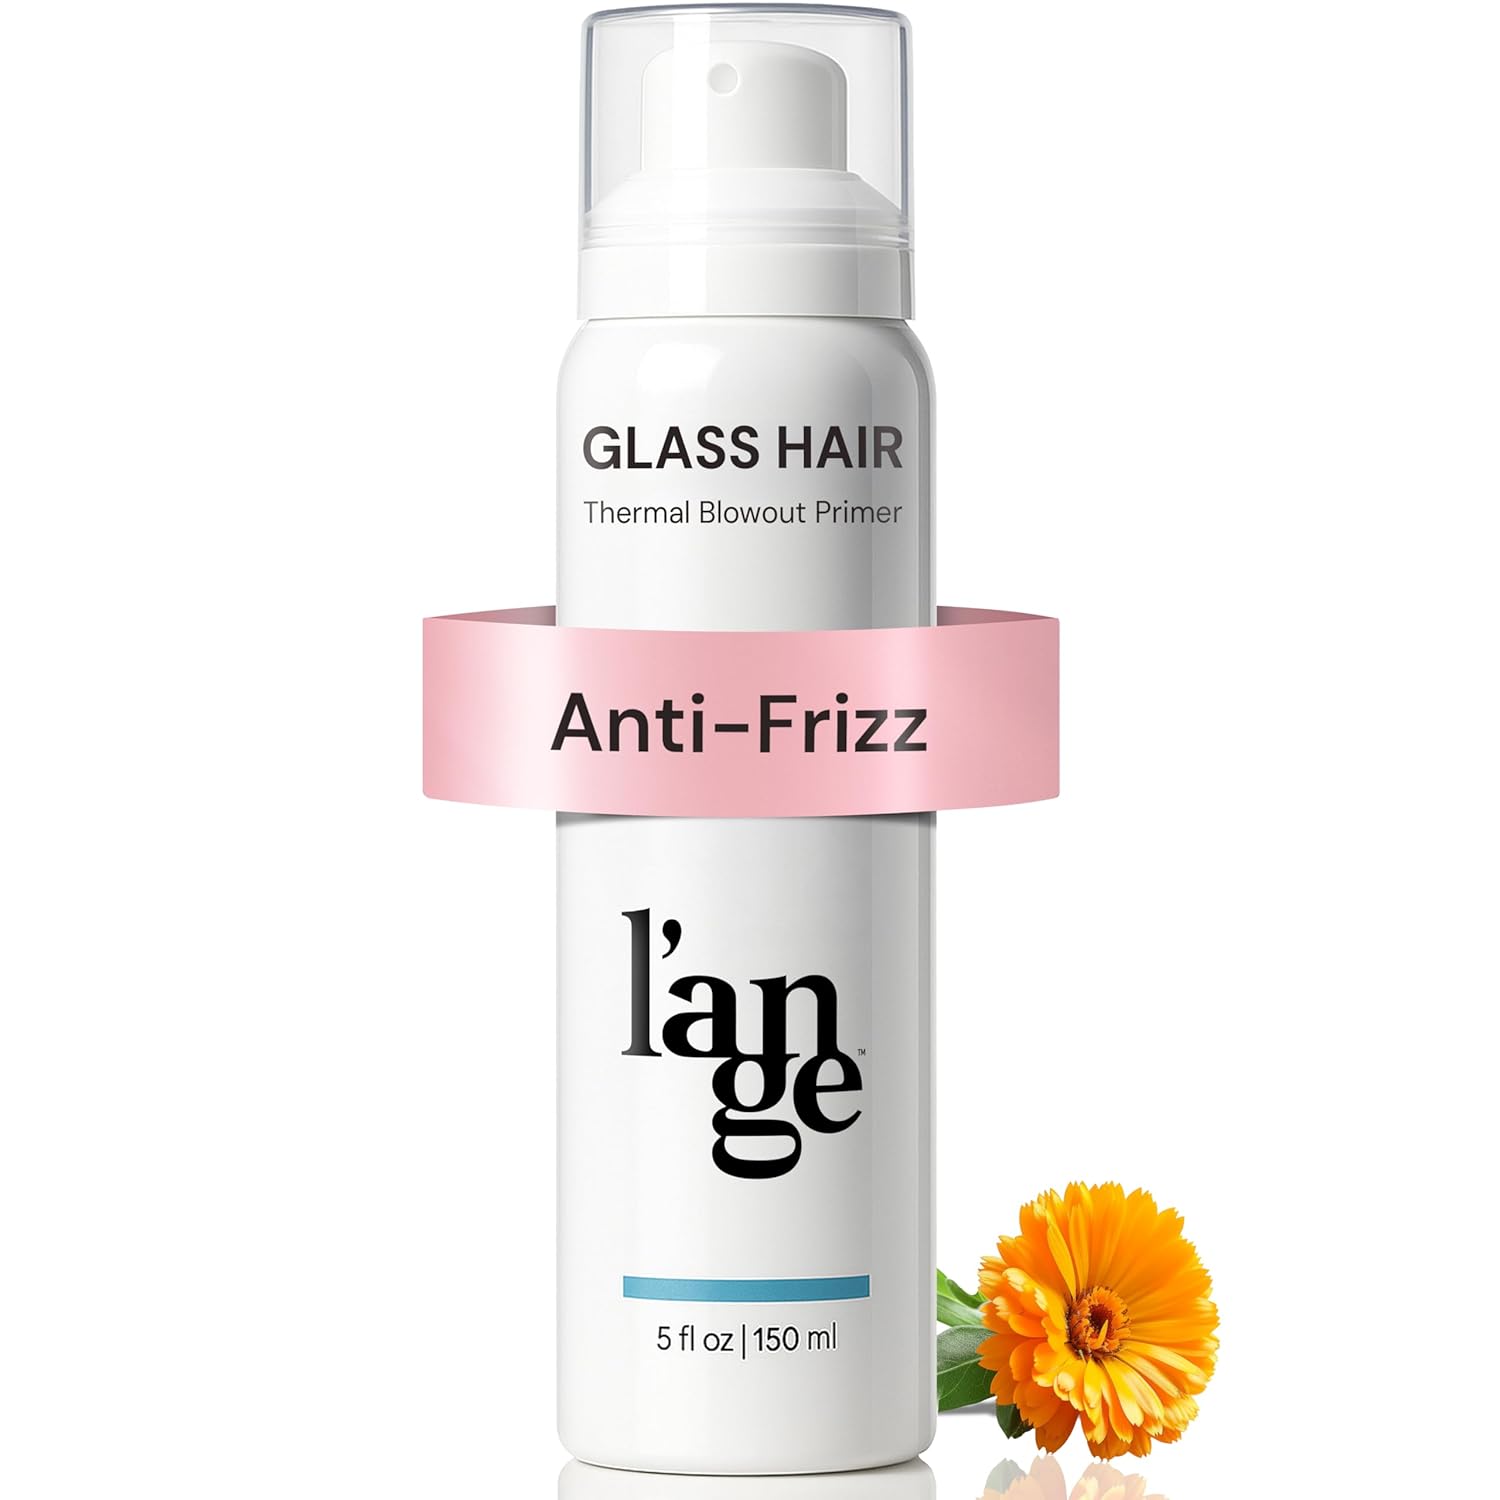
No matter which style you're aiming for, heat protection is non-negotiable. Start with clean, dry hair. Apply a heat protectant spray or serum evenly throughout your hair. For extra bond repair and strength, especially if you style frequently, use a treatment like the L'ANGE HAIR Ms. Bond Building + Strengthening Hair Serum (4 fl oz Bottle). This serum not only protects against heat up to 450°F but also rebuilds broken bonds in the hair, making it more resilient to the stress of transitioning between textures.
Step 2: Create Your Straight Base
Section your hair into manageable clips. Using your flat iron (set to 350–380°F for fine hair, 380–420°F for medium to thick hair), glide slowly through each section. For extra smoothness, use a boar bristle brush in front of the iron. Once all hair is straight, you can add a lightweight shine serum or dry oil.
Step 3: Switch to Curly Mode Without Washing
To go from straight to curly later in the day, you don't need to start over. Lightly mist your hair with water or a curl refresher spray until it's slightly damp. Then, use your curling wand to re-curl sections. The residual moisture helps the curls form faster. Wrap each section around the wand for 5–8 seconds, release, and pin the curl to your scalp with a clip to let it cool. This sets the shape and adds longevity.
Step 4: Set and Finish
Once all curls are in, remove the clips and gently break up the curls with your fingers. Avoid brushing, which can create frizz. Spritz with a flexible hold hairspray. If you want a more natural wave, use the flat iron again on low heat to gently pull through the ends of the curls, softening the shape.
Best Practices for Tool Versatility
- Use a heat-resistant mat: When switching between tools, place them on a silicone mat to protect your countertop and avoid accidental burns.
- Adjust temperature based on hair type: Fine hair needs lower heat (300–350°F), while thick or coarse hair can handle higher settings (400–450°F). Always start low.
- Work in small sections: For both straightening and curling, sections smaller than 1 inch ensure even heat distribution and longer-lasting results.
- Cool down between uses: If you're using the same tool for both styles in one session, let it cool for a minute or two between passes to avoid overheating the hair.
Product Pairings for Each Texture
Choosing the right products for your desired outcome makes the transition seamless. Here's a quick guide:
| Desired Style | Best Products | Tool Focus |
|---|---|---|
| Sleek, pin-straight | Heat protectant, smoothing serum, shine spray | Flat iron at high heat, slow passes |
| Soft, voluminous waves | Volumizing mousse, sea salt spray, texturizing powder | Curling wand (loose wrap) or flat iron (twist technique) |
| Tight, bouncy curls | Curl cream, setting lotion, strong hold hairspray | Curling wand (tight wrap) or flat iron (small sections, 180° rotation) |
| Beachy, tousled texture | Dry shampoo, texture spray, lightweight oil | Curling wand (alternate wrap direction) or flat iron (random bends) |
Common Mistakes and How to Avoid Them
- Using too high heat: This damages the hair cuticle, leading to frizz and breakage. Stick to the lowest effective temperature.
- Not allowing curls to cool: Curls need to cool completely in a pinned or clipped position to hold their shape. If you release them too early, they fall flat.
- Skipping heat protectant: Even if you're just touching up, always apply a protectant. The Ms. Bond Serum doubles as a heat protectant and repair treatment.
- Overlapping sections: When going from straight to curly, make sure you don't re-curl already curled sections, as this can cause uneven texture and heat damage.
Why Versatility Matters: Embracing Multiple Styles with One Routine
The beauty of mastering both straight and curly styles with the same tools is that you can adapt your look to any occasion without investing in a separate tool for each texture. It also reduces the amount of heat exposure your hair receives overall, since you're using the same tool set repeatedly. With proper care and the right products, your hair can stay healthy while you experiment with different looks daily.
By incorporating a high-quality flat iron like the Le Duo Standard and a strengthening serum like Ms. Bond, you're setting yourself up for success. These tools and products work together to minimize damage while maximizing style flexibility.
Final Thoughts: Your At-Home Salon Transition
Transitioning from straight to curly styles doesn't have to be complicated or damaging. With a little practice and the right approach, you can achieve both looks using just a flat iron and a curling wand. Remember to prep your hair properly, adjust your technique based on your desired texture, and always protect your strands from heat.
Ready to give your hair the versatility it deserves? Start with the L'ANGE HAIR Ms. Bond Building + Strengthening Hair Serum to build a strong foundation, then explore our full range of heat tools to find the perfect fit for your styling needs. Whether you're craving sleek straight locks or voluminous curls, your next great hairstyle is just a few clicks away.