How to Section Hair Like a Pro: Techniques for Faster Blowouts and Perfect Curls
By L'ANGE | Published: 2026-05-27
Category: How-to Guides
Master hair sectioning techniques for faster blowouts and perfect curls at home. Learn pro tips, tool recommendations, and step-by-step methods to transform your styling routine.
Have you ever watched a professional stylist work and wondered how they achieve such flawless blowouts and perfectly defined curls in half the time it takes you at home? The secret often lies in one simple, yet game-changing step: proper hair sectioning. Whether you are aiming for a sleek, smooth blowout or bouncy, defined curls, how you divide and organize your hair before applying heat makes all the difference. In this comprehensive guide, we will walk you through essential hair sectioning techniques that will save you time, reduce heat damage, and help you achieve salon-quality results every time.
Why Hair Sectioning Matters
Many people skip sectioning because it feels like an extra, time-consuming step. However, sectioning your hair properly is the foundation of efficient and effective styling. When you work with small, organized sections, you ensure that every strand receives consistent heat, which leads to longer-lasting styles and less need for touch-ups. Additionally, sectioning helps you avoid missing spots, reduces tugging and pulling, and allows you to control the direction of airflow or heat for maximum volume and smoothness. In short, sectioning is not just for professionals—it is a skill that anyone can learn to elevate their at-home routine.
Essential Tools for Sectioning Hair
Before you start, gather the right tools. Having the correct equipment makes sectioning quick and precise. Here is what you need:
- Sectioning clips: Metal or plastic clips with a strong grip are ideal for holding sections in place. Unlike alligator clips, which can snag hair, sectioning clips are designed to hold large amounts of hair without creasing.
- A fine-tooth tail comb: The long metal tail is perfect for creating clean, straight partings. Use it to draw precise lines from the front to the back of your head.
- Spray bottle with water: Keep hair slightly damp for easier parting, especially if you are working with dry, textured hair.
- A mirror: A second mirror or a well-lit vanity helps you see the back of your head clearly.
While these basics are essential, having a reliable brush is also key. The L'ANGE HAIR Siena Curved Vented Hair Brush (Black) is an excellent choice for detangling and smoothing sections before blow-drying, as its curved design conforms to the scalp for better grip and airflow.
Basic Sectioning Patterns for Different Hair Types
1. The Classic Four-Section Method (For Straight to Wavy Hair)
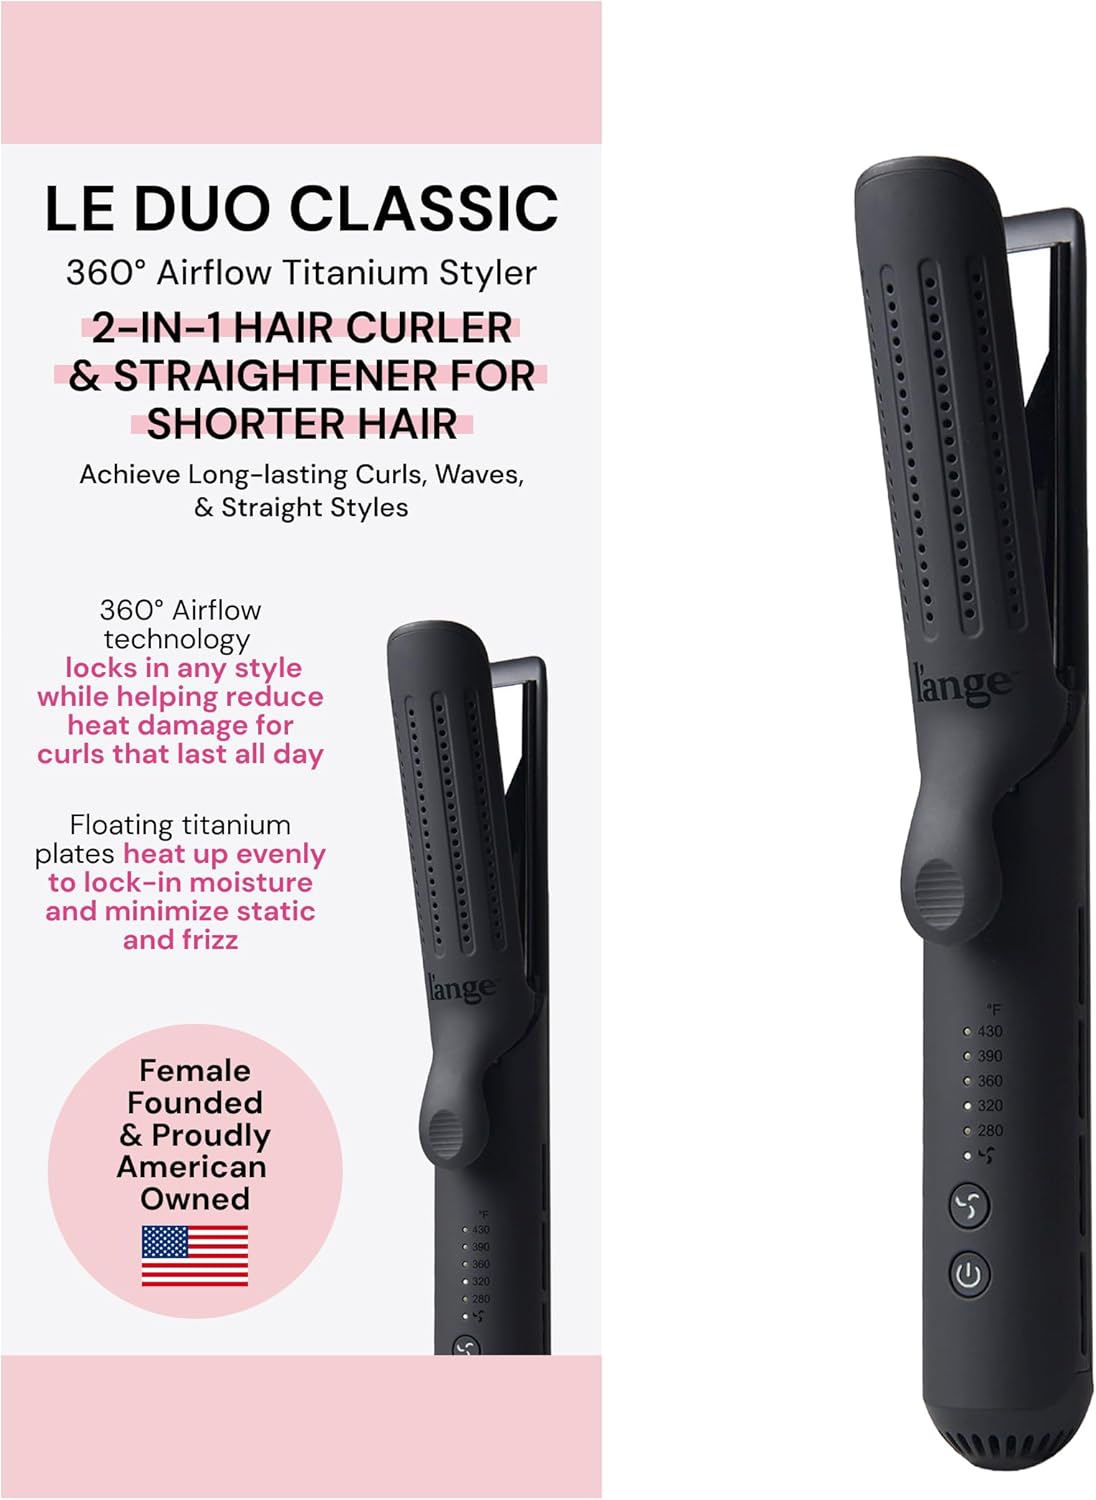
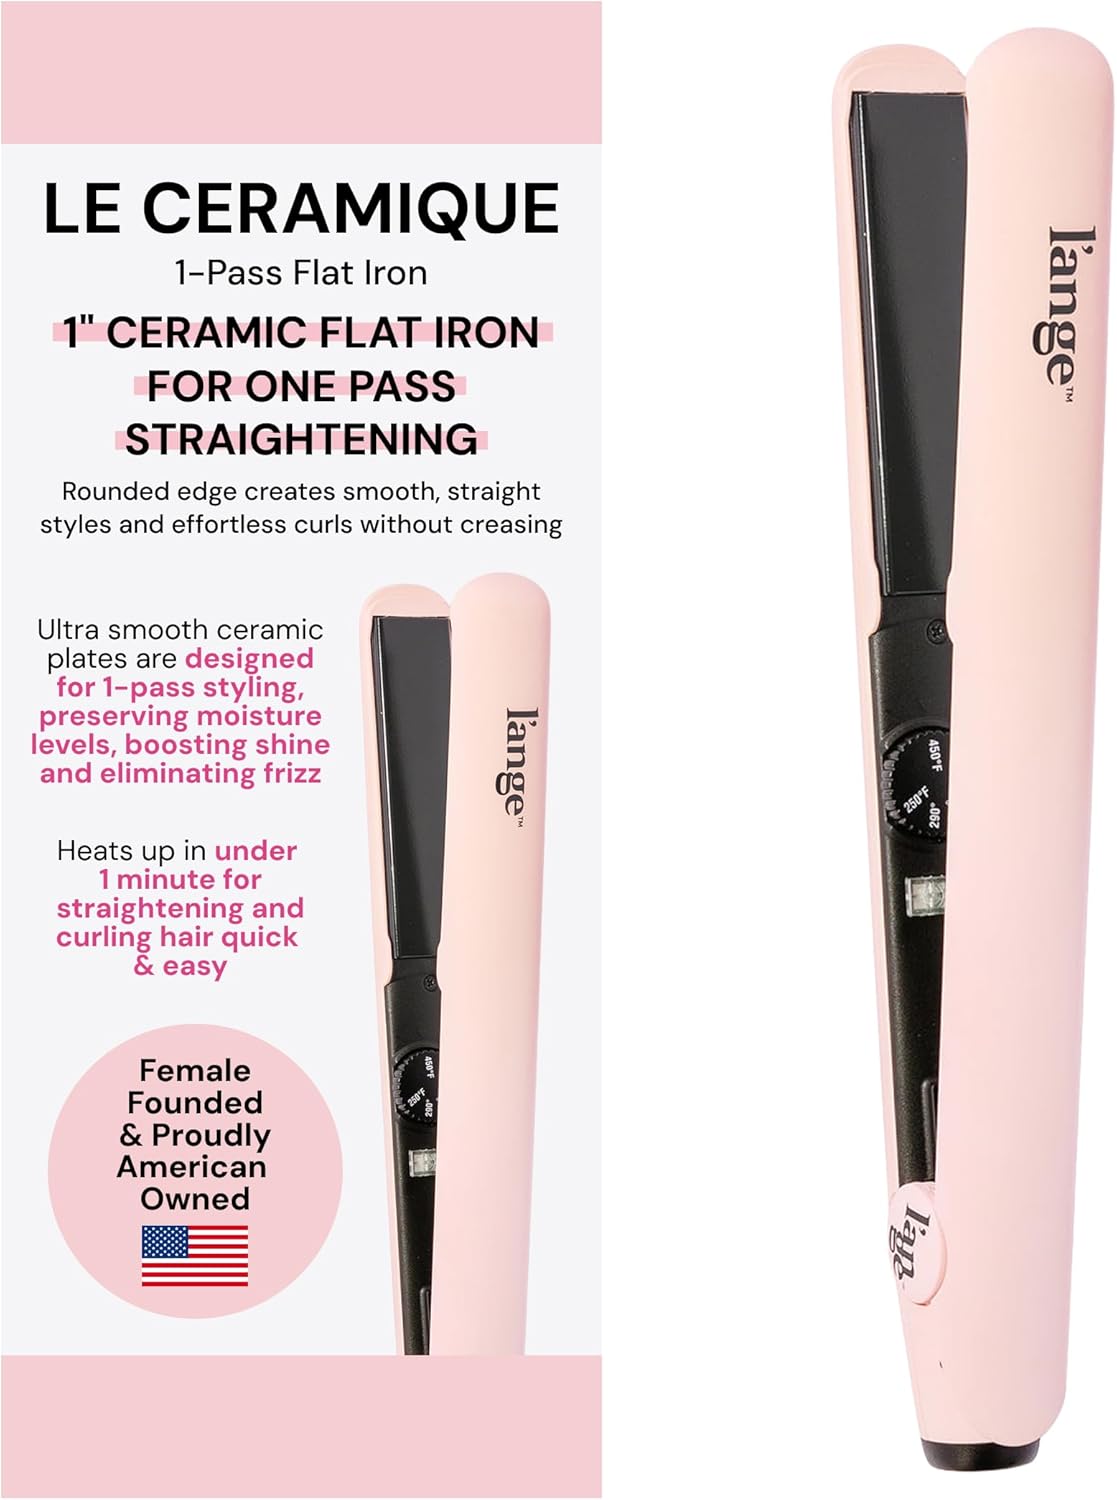
This is the most common and versatile sectioning pattern. Start by parting your hair down the middle from your forehead to your nape, then create a horizontal part from ear to ear across the crown. You will end up with four quadrants: top left, top right, bottom left, and bottom right. Clip three sections away and work on one at a time. This method works beautifully for blowouts and straightening because it ensures even heat distribution. If you are using a flat iron, consider the L'ANGE HAIR Le Titane Titanium Flat Iron (1.75" Black)—its wider plates glide over larger sections quickly, making it perfect for this method.
2. The Mohawk Section (For Curly or Thick Hair)
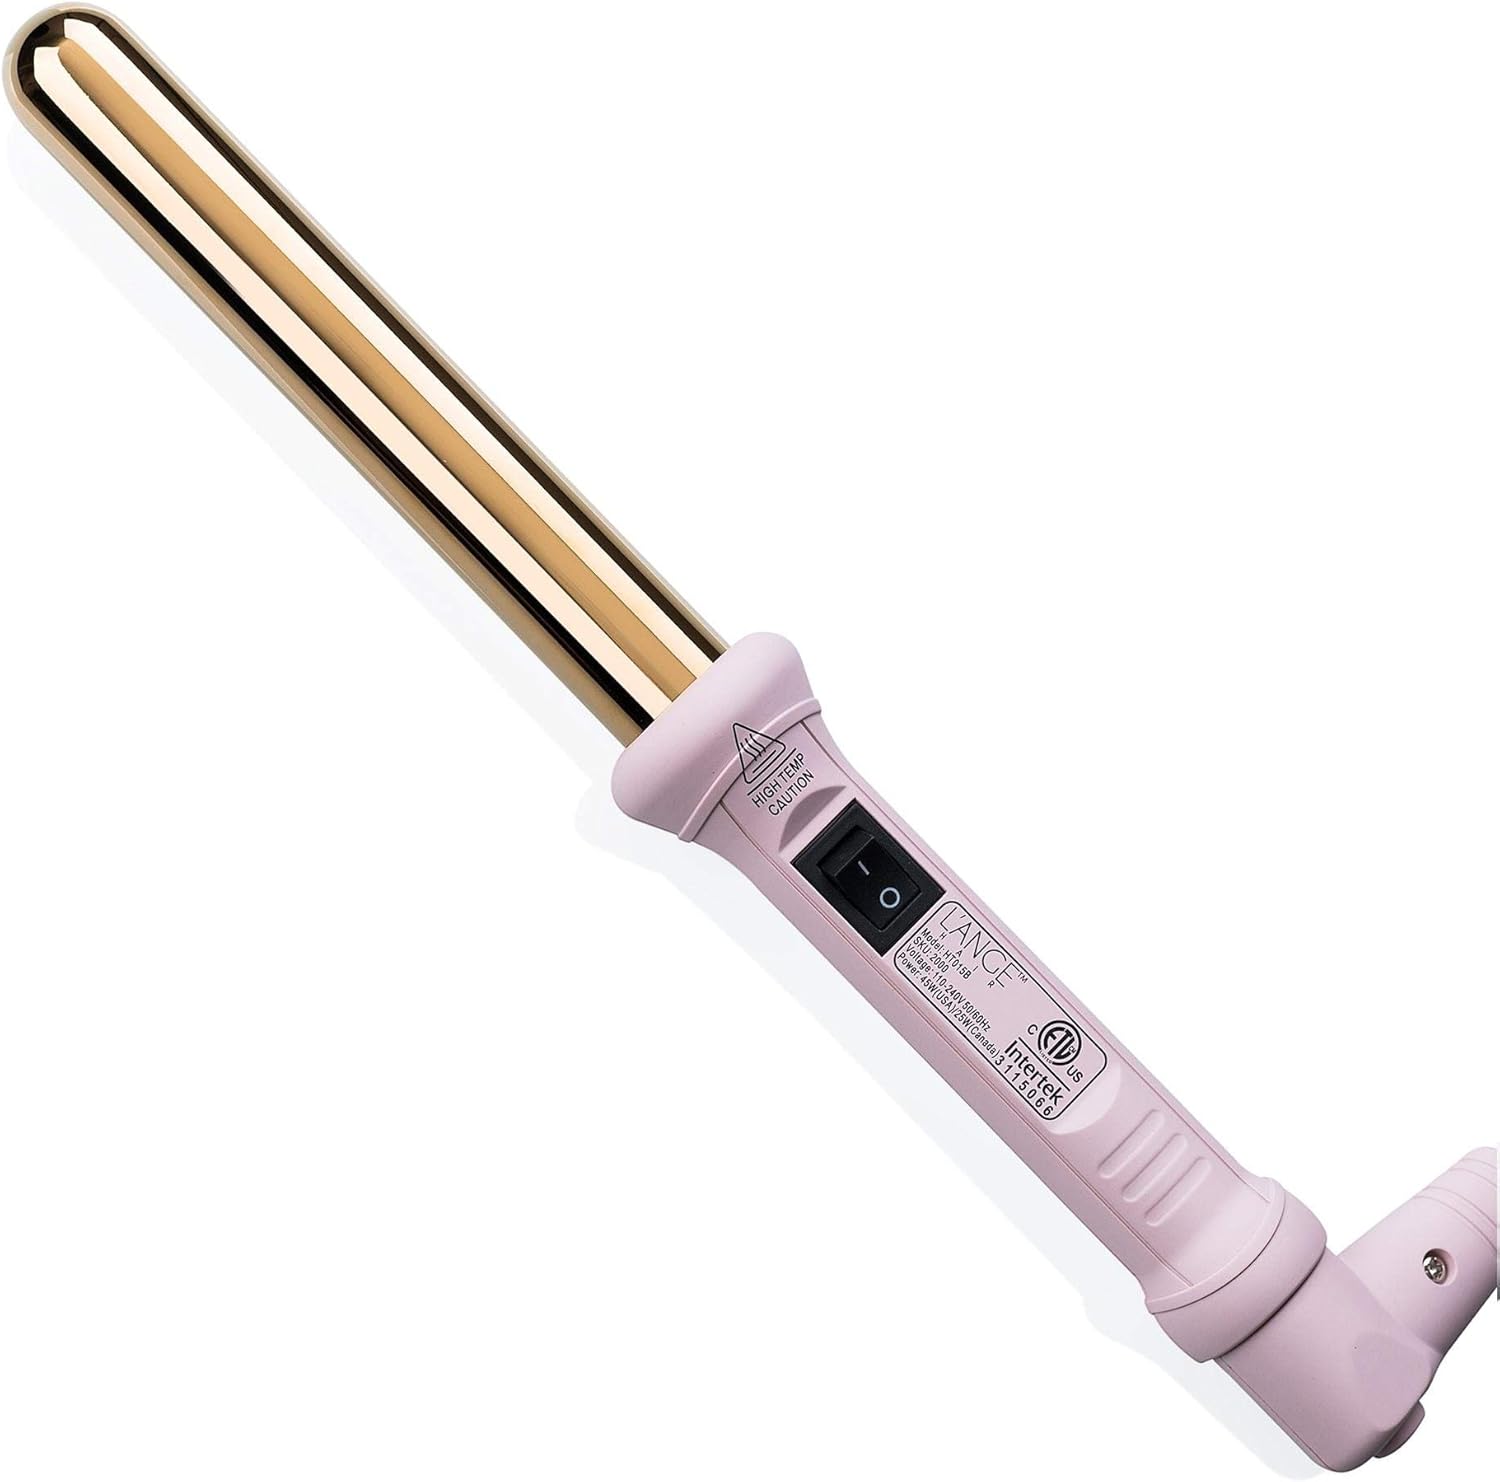
If you have thick or curly hair, the classic four-section method may still leave you with bulky pieces. Instead, try the Mohawk section: part a strip of hair from your forehead to your crown, about two inches wide, and clip it up. Then, create two side sections from the temples to the back. This creates three vertical sections rather than four quadrants. This approach allows you to work on the densest part of your hair first and then move to the sides, which is especially helpful when using a curling wand or styling cream. For those with natural curls, applying a lightweight cream before sectioning can define curls without weighing them down.
3. The Pinwheel Section (For Short Hair or Pixie Cuts)
Short hair requires a different strategy. Instead of large quadrants, use a pinwheel pattern: start at the crown and create small, circular sections that radiate outward. Clip each section as you go, working from the nape upward. This ensures you do not miss any layers and that the hair dries evenly.
Step-by-Step: How to Section Hair for a Smooth Blowout
Now that you know the basic patterns, let us apply them to a blowout. Follow these steps for a faster, frizz-free finish:
- Prep with the right products: Start with clean, damp hair. Apply a heat protectant and a volumizing mousse from roots to ends. Comb through to distribute evenly.
- Create your sectioning pattern: Using the classic four-section method, use a tail comb to create a clean center part from forehead to nape. Then, draw a horizontal line from ear to ear across the crown. Secure each section with a clip.
- Begin at the nape: Release one bottom section. Use a round brush to lift the roots as you direct the nozzle of your dryer downward from roots to ends. Work in small, one-inch subsections for maximum volume.
- Move to the crown: Once the bottom is dry, release the top sections. Direct the hair away from the face for a polished look. Use the cool shot button to set the style.
- Finish with a light mist: A flexible-hold hairspray will keep frizz at bay without stiffness.
For the blow-drying step itself, a high-quality tool like the L’ANGE HAIR Axia HaloRing Ionic Hair Dryer (Rose Gold) is a game-changer. Its ionic technology reduces drying time by breaking down water molecules, while the haloring design distributes heat evenly—perfect for working section by section without overheating any one area.
How to Section Hair for Perfect Curls
Curling requires even more precision than blow-drying. The key is to work with sections that match the size of your curling wand or iron barrel. Here is how:
- Start with completely dry, brushed-out hair. Apply a heat protectant and a lightweight texture spray for grip.
- Section horizontally from the nape upward. Use a tail comb to create a part about one inch above your ears. Clip the top section up and out of the way.
- Take one-inch subsections from the bottom layer. The smaller the subsection, the tighter the curl. For loose waves, use two-inch sections. Wrap the hair around the barrel away from your face, holding for 5-10 seconds.
- Release the next horizontal layer and repeat. This method ensures every curl is uniform and that you do not miss strands near the crown.
- Once all sections are curled, allow the curls to cool completely before running your fingers through them for a softer look.
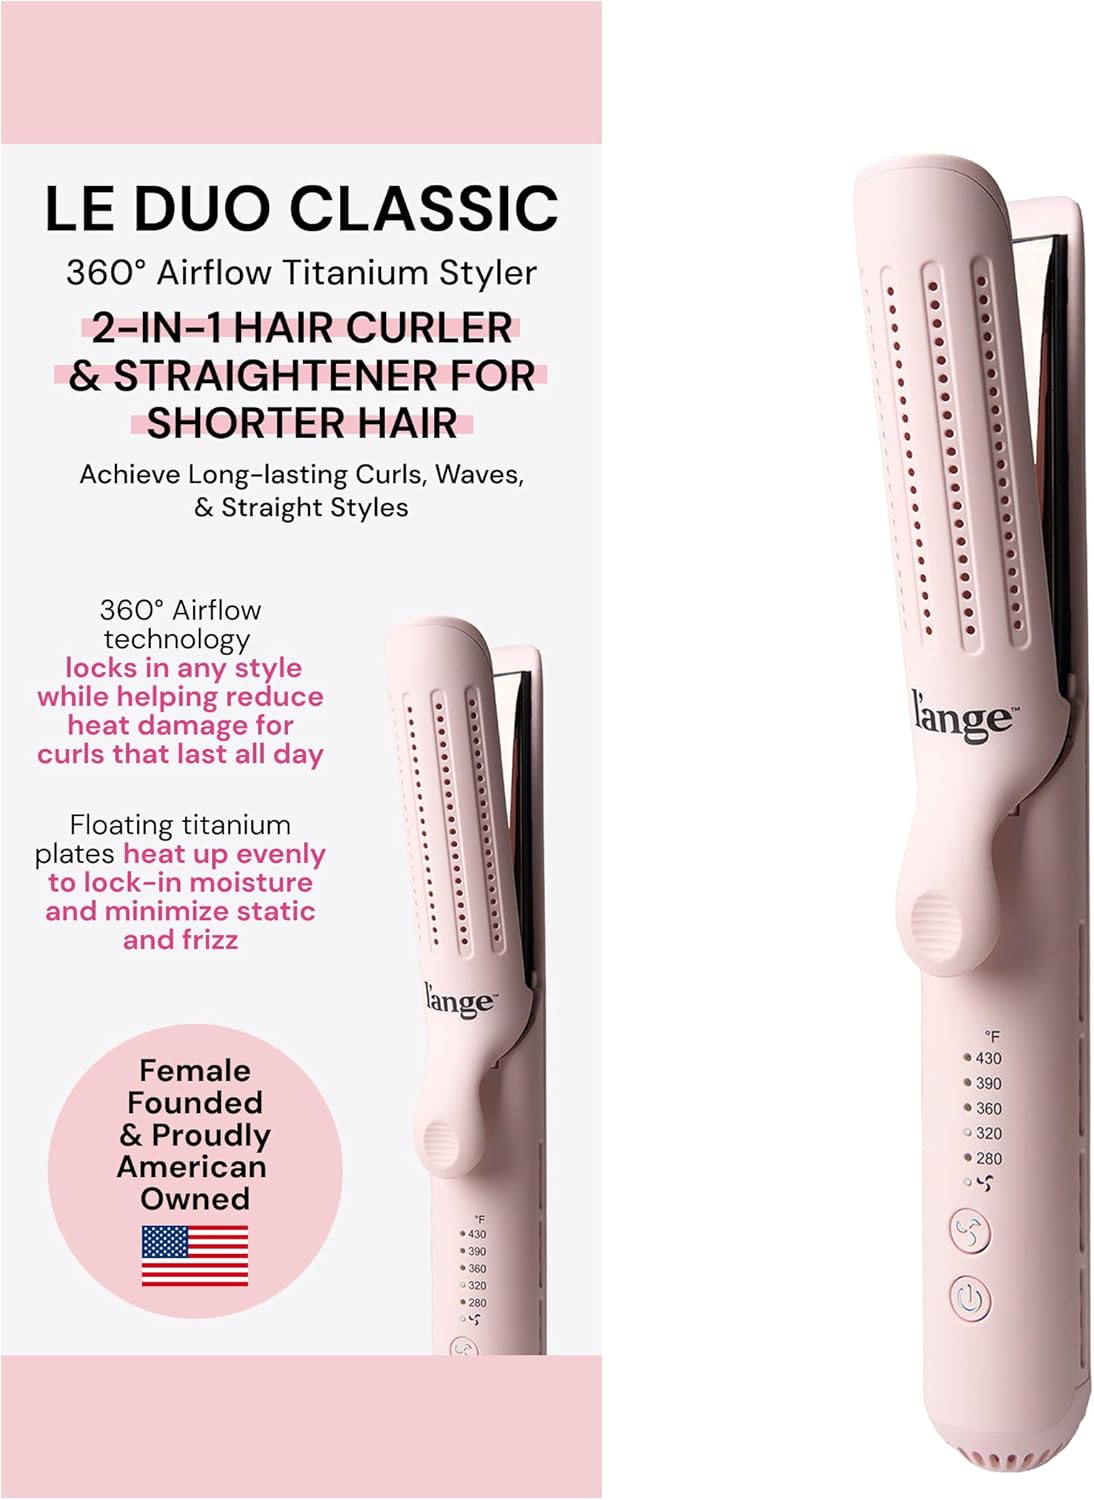
If you are looking for a tool that can both straighten and curl with precision, the L'ANGE HAIR Le Duo Grande 360° Airflow 2 in 1 Straightener and Curler (Blush) is an innovative choice. Its 360° rotating barrel allows you to curl without twisting your wrist, and the built-in airflow helps set the style faster—perfect for working through multiple sections.
Pro Tips for Faster Sectioning
- Use a spray bottle to keep hair damp. Dry hair is harder to section and can cause breakage when combed.
- Work in a well-lit area. Good lighting helps you see the part lines clearly, especially at the back of your head.
- Invest in quality clips. Cheap clips may slip or break, which can be frustrating mid-routine. Sectioning clips with a strong spring hold your hair securely.
- Practice makes perfect. The first few times you section your hair, it may feel awkward. But within a few sessions, you will develop muscle memory and speed up significantly.
- Customize your pattern. If you have a cowlick or a particularly stubborn area, create smaller, targeted sections around that spot to ensure it dries or curls properly.
Common Sectioning Mistakes to Avoid
| Mistake | Why It Hurts Your Results | Fix |
|---|---|---|
| Skipping sectioning altogether | Uneven heat exposure, missed strands, longer drying time | Always section, even if you only use two clips |
| Using too-large sections | Inconsistent styling, especially with curling wands | Keep subsections no wider than the barrel of your tool |
| Parting with fingers | Imprecise lines, tangled hair, uneven tension | Always use a tail comb for clean, straight partings |
| Not clipping sections tightly enough | Sections fall down and mix with the working area | Use clips that grip securely and position them close to the scalp |
| Starting at the top instead of the nape | Top layers get overworked and frizzy; bottom layers stay wet | Always work from the nape upward |
Final Thoughts: Elevate Your Styling with Smart Sectioning
Mastering the art of hair sectioning is one of the most impactful skills you can add to your home styling routine. It transforms chaotic, time-consuming sessions into efficient, enjoyable experiences. By using the right tools, choosing a sectioning pattern that suits your hair type, and following a systematic approach, you will notice that your blowouts last longer, your curls are more defined, and your hair experiences less heat damage overall. Whether you are a beginner or a seasoned enthusiast, taking a few extra minutes to section your hair properly is the single best investment you can make in your hair health and styling success.
Ready to upgrade your toolkit? Explore the L'ANGE HAIR Siena Curved Vented Hair Brush (Black) to start sectioning and styling like a pro today.